Add Your Own Custom Click Domain in Lumail
Use your own domain for tracked email links in Lumail. Learn how click domains work and how to connect, verify, and activate yours.
In this guide
You can now use your own custom click domain in Lumail. Your tracked email links can use a domain that belongs to your brand, such as links.yourdomain.com.
Here is what that means, why it matters, and how to set it up.
What is a click domain?
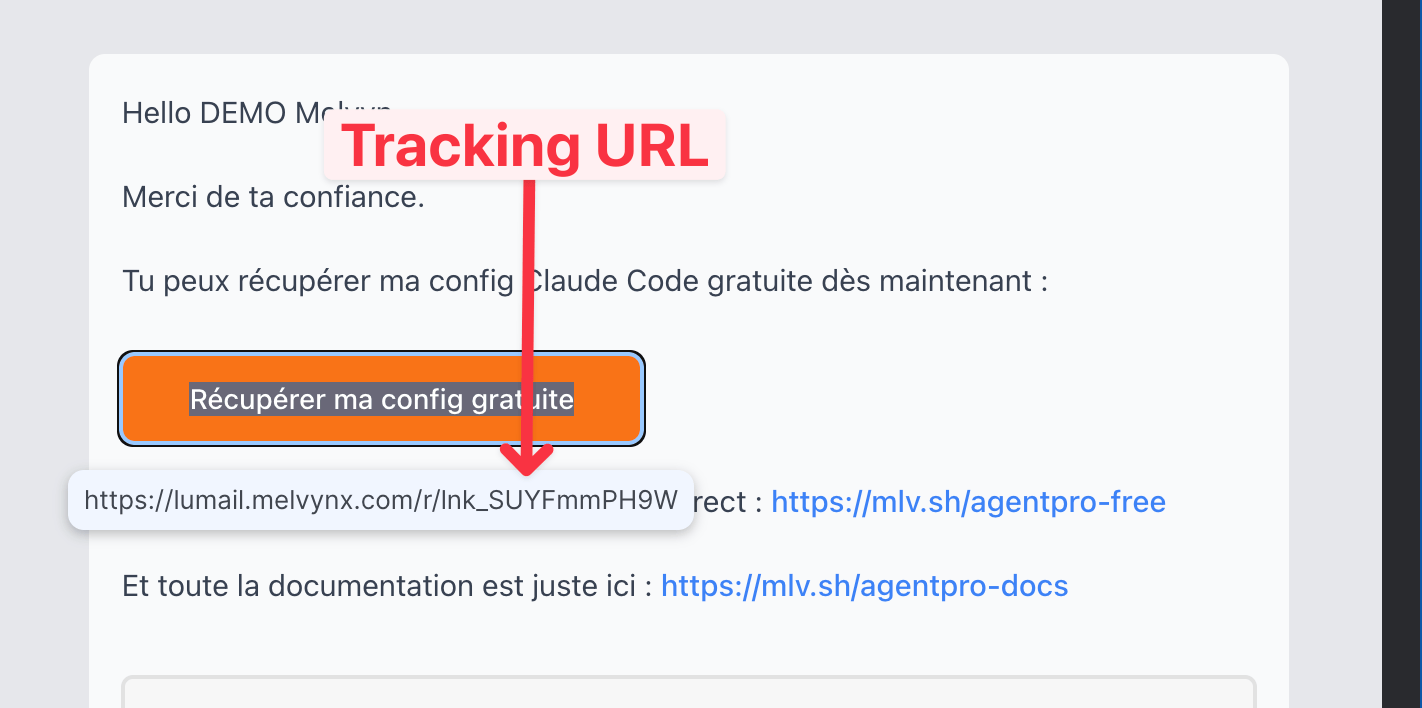
When click tracking is enabled, Lumail replaces the links in your email with tracking URLs. When someone opens one of those URLs, Lumail records the click and redirects them to the original destination.
For example, a link to your website might become:
https://links.yourdomain.com/r/<link-id>
The destination stays the same. The click domain is the hostname used for the tracking step.
Lumail also uses this hostname for the open-tracking pixel when enabled, the online version of your email, and unsubscribe links. The pixel URL follows a different path:
https://links.yourdomain.com/o/<email-id>
Why use your own domain?
Without a custom click domain, Lumail supplies a hostname on its shared tracking infrastructure. A custom domain makes the links in your messages recognizable as part of your brand.
For example, an email from [email protected] can contain tracked links beginning with links.yourdomain.com. Your sender address and link hostname then share the same brand domain.
It also reduces your dependence on a shared tracking hostname and its reputation. This gives you more control over the domains appearing in your emails; it does not guarantee inbox placement.
How to set it up
1. Add a web domain
In Lumail, open Domains, find Web domains, and select Add web domain. Choose a dedicated subdomain such as links.yourdomain.com or click.yourdomain.com.
2. Add the DNS record
Copy the CNAME record shown by Lumail into your DNS provider. Return to Lumail and click Check DNS records.
Wait until DNS, the certificate, and HTTPS are verified. DNS propagation can take time, so check again if the domain is still pending.
3. Activate it for clicks
Open Settings → Click domain, choose your verified web domain, and click Use for clicks.
The domain marked Active will be used for newly generated tracking links, open pixels, online versions, and unsubscribe URLs. Already-sent emails keep their original tracking hostname.
4. Check a test email
Send yourself a test email containing a link. Confirm that its tracking URL starts with your custom hostname and redirects to the intended destination. Then check the click in your email or campaign analytics.
Watch the walkthrough
I recorded a short video showing the setup from start to finish:
You can also watch the walkthrough on Tella.
Follow the custom click domain guide for the complete instructions, or see Web domains if you need help with DNS or HTTPS verification.